

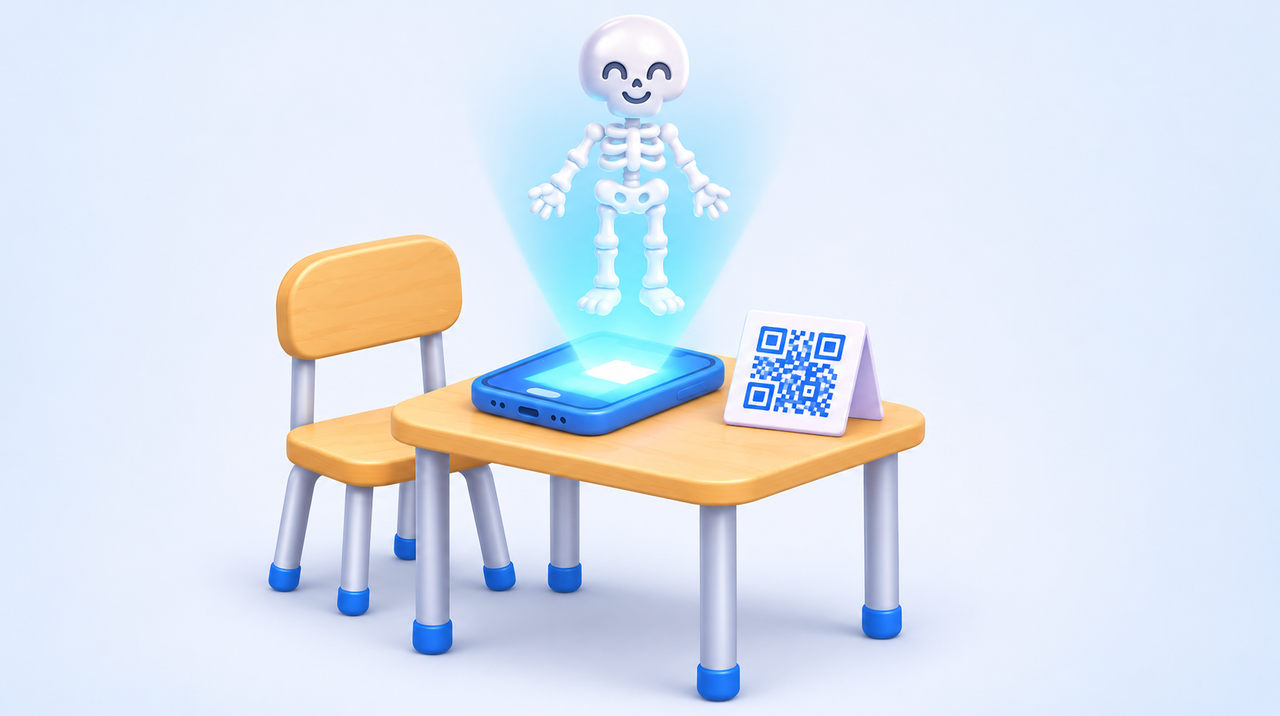
This week, a two-word request came in through our website form: "human skeleton." It is one of the most common searches among people who teach science and biology, and it almost always hides three questions: where to find a 3D skeleton that can be used without copyright problems, how to make it appear on top of the desk through a phone camera, and what to do when the free file doesn't work. This article answers all three, with the precautions we learned building augmented reality projects for schools.
Why the skeleton is the best first 3D model for a school
The plastic skeleton in the science room is expensive, breaks easily, stays locked in the lab, and there is only one for the whole class. A 3D model solves three of its limitations at once: each group has its own on screen, you can rotate, zoom in, and hide parts, and students can open it at home to study for the test.
It is also the case where augmented reality helps the most, because the subject is spatial. Understanding where the scapula fits, how the spine curves, or why the skull has so many sutures is much easier when looking from several angles than at a flat figure in a textbook. In our experience, content that students need to see "from the side" and "from behind" is what justifies AR; content that fits in an illustration doesn't need it.
Where to find a free (and cleared) 3D skeleton
There are good free models on the internet. The caution lies in the license, which states what you can do with the file. The three sources we use most as a starting point:
- Z-Anatomy. An open 3D anatomy atlas with bones, muscles, organs, and labels. The license is Creative Commons Attribution-ShareAlike 4.0 (CC BY-SA 4.0): you may use it, including in school materials, as long as you give credit and distribute any modified version under the same license. The project is based on BodyParts3D, an open Japanese anatomy database also licensed under CC BY-SA 2.1 Japan. Note: the repository itself warns that some parts came from other sources with different rules, including one that prohibits commercial use. For classroom use, without selling the material, this is usually enough; for a paid product, check piece by piece.
- Sketchfab. The world's largest showcase of 3D models, with dozens of skeletons available to download for free. Use the filter for models that allow download and read the license on each page. Those marked CC Attribution (CC BY) allow almost everything, asking only for credit to the author. Those marked NonCommercial or NoDerivatives limit use: the first prohibits commercial use, the second prohibits altering the file, which already rules out reducing its size for phones.
- NIH 3D (formerly the NIH 3D Print Exchange, from the U.S. National Institutes of Health). It gathers scientific and medical models, some generated from CT scans of real people, with the license indicated on each page. They are great for anatomical detail, but tend to be heavy and colorless, designed for 3D printing.
Rule of thumb: write down the license and the author on the same day you download. Six months later, nobody remembers where the file came from, and that is exactly when the school administration asks whether it can be used in the material going out to families.
Before using it: what to check in the file
Finding the model is half the work. The other half is checking that it works on the student's phone. The four problems we see most:
- Weight. Detailed anatomical models easily exceed 2 million triangles and 100 MB. On an entry-level phone, this freezes or won't open. For classroom AR, aim for a file of up to 10 to 15 MB. You can reduce it in Blender, which is free, with the simplification tool ("Decimate"), without losing what matters for the lesson.
- Format. To open in the browser and in augmented reality, the right format is GLB. If it came as OBJ, FBX, or STL, it needs to be converted. We explain the difference between them in GLB, OBJ, FBX, or STL: which 3D format to use, and our 3D file converter does it for free in the browser.
- White model. This is the most common defect: on the computer the skeleton appears with color, on the phone it appears white. In most cases we handle, the cause was the texture saved in an image format that the phone's AR viewer cannot read (such as WebP). Switching the texture to PNG or JPG fixes it.
- Loose pieces. Complete atlases come with hundreds of separate bones, sometimes out of place when exported. Open the whole file and rotate it before taking it to the class.
How to make the skeleton appear on the desk
No dedicated app is needed. Current phones already have a built-in augmented reality viewer: on Android, it opens from the browser; on iPhone, the same happens with Apple's format. The simplest path for the school:
- Put the GLB on a 3D viewing page. There are free tools for this, and our own platform, webar.app.br, has a free plan that publishes one model for seven days, enough to test a lesson.
- Generate a QR code with the page address and paste it on the activity sheet or project it on the board.
- The student points the camera, opens the page, taps the augmented reality button, and places the skeleton on the table or floor.
A warning we make a point of giving: in browser-based augmented reality, the skeleton appears in your space, and you can enlarge and shrink it with your fingers, but don't count on it being the exact size of a person. If the lesson depends on measurement (comparing a student's height with the skeleton's, for example), test beforehand with the device that will be used.
It is also worth planning for the phone that doesn't open it. An old device, without the augmented reality function or without space for the camera, is common in any class. Keep the option of rotating the model on screen, without the camera, and work in groups of three or four. We detail these pitfalls in augmented reality on a basic phone.
Three activities that work with the 3D skeleton
- Bone hunt. Each group receives a list of five bones and must find, rotate, and photograph the screen showing each one. It works well from 6th grade onward and forces students to use the 3D, not just look at it.
- Before and after the textbook. The teacher shows the textbook figure, asks where the shoulder joint is, and only then opens the model. The difference between what the class imagined and what it sees becomes the lesson's discussion.
- Explain to the camera. In high school, each student records a one-minute video presenting a body system with the model on the desk. It is assessment, review, and content for the school's social media all at once.
For the complete step-by-step of an AR lesson, from objective to assessment, see augmented reality in the classroom: how to set up the first lesson.
When the free model isn't enough
The free file solves a lot, but it has limits. It is time to order a custom model when the school needs:
- Portuguese labels inside the model. Open atlases come with Latin or English nomenclature.
- Parts that separate and return by touch, or layers that appear one at a time (bones, then muscles, then organs).
- Movement: the knee joint bending, the rib cage during breathing.
- Commercial use without legal doubt, such as in a textbook, a sold workbook, or a school app.
- Controlled weight to work on the simplest phone in the class, with testing on real devices.
In these cases, the modeling is done from scratch or from an open base, respecting the license, and the delivery comes ready for augmented reality. This is the work of our 3D modeling and animation team, and building the experience is handled by our augmented reality team.
The mistakes we see most
- Downloading the prettiest model instead of the lightest. The 2-million-triangle one impresses on the teacher's computer and freezes on the student's phone.
- Ignoring the license because "it's for the school." Educational use is not an automatic exception. If the material goes to families, the website, or social media, the license applies.
- Testing only on your own phone. The teacher's device is usually better than the class average. Test on a basic phone first.
- Using AR as an attraction rather than an activity. The skeleton floating on the desk earns five minutes of "wow." What lasts is the task that comes after.
Summary
To start without spending: download a skeleton with a CC BY or CC BY-SA license, reduce its size, convert it to GLB, publish it on a page with an augmented reality button, and bring a QR code to the classroom. If the lesson needs Portuguese labels, parts that separate, movement, or commercial use, then it is worth ordering one. If you want help with any of the steps, talk to our augmented reality team.
Sources
- Z-Anatomy, official repository "Models of human anatomy," with the CC BY-SA 4.0 license and the credits for each source.
- BodyParts3D, Database Center for Life Science (Japan), CC BY-SA 2.1 Japan license.
- Sketchfab, human skeleton model pages and description of the Creative Commons licenses.
- NIH 3D, repository of scientific models from the U.S. National Institutes of Health.
- Experience of Agência Primeira Página in augmented reality projects for schools and publishers.
Frequently asked questions
Where can I download a free 3D human skeleton?
The most commonly used sources are Z-Anatomy (an open anatomy atlas, CC BY-SA 4.0 license), Sketchfab (filtering for models that allow downloads and checking each one’s license), and NIH 3D, the scientific repository of the U.S. National Institutes of Health.
Can I use a free 3D model in school materials?
It depends on the license. CC BY models only require credit to the author. CC BY-SA models require credit and that modified versions use the same license. Models marked NonCommercial can’t be used in materials that are sold, and NoDerivatives models can’t be altered, not even to reduce their size.
How do I show a 3D skeleton in augmented reality without an app?
Convert the model to GLB, publish it on a 3D viewer page with an augmented reality button, and generate a QR code with the page’s address. Current Android phones and iPhones open the model through the camera, right from the browser.
Why does my 3D model show up white on my phone?
In most cases, the texture was saved in an image format that the phone’s augmented reality viewer can’t read, such as WebP. Switching the texture to PNG or JPG usually fixes it.
What’s the ideal size for a 3D model used in augmented reality in the classroom?
To work on basic phones, the ideal is a GLB file of up to 10 to 15 MB. Detailed anatomical models can exceed 100 MB and need to be simplified, which you can do in Blender, which is free.
When is it worth commissioning a custom 3D skeleton?
When the school needs labels in Portuguese on the model, parts that separate with a touch, joint movement, commercial use with no legal doubt, or a lightweight file tested on the class’s phones.